Showing posts with label things I've made. Show all posts

Friday, March 15, 2013

A Quilt for Seven

I have never made a "real" quilt before.  I have quilted comforters and made blankets, but never a quilt.  I actually bought a bolt of fabric when Leila and Sarah were babies with the intention of making quilts for them.  Instead, I ended up cutting up my existing queen-sized quilt into two crib-sized quilts.  The bolt of fabric was packed away and I never thought I'd get a chance to use it.

Then I had Amelia.

And anyone who knows me well knows that I love cows.  And so Amelia now has a cow quilt.  In pink and purple, of course.
I followed a really simple quilt pattern that I found here.  I cut the pieces and put them together in one afternoon while Amelia nursed and slept and watched.
Then I (very nervously) quilted it and watched it come together.  Finally I made the binding.  The part that took the longest was hand stitching the binding.  It took me every evening for a week to finish that part.  I can honestly say that this quilt was made with love.  
After the quilt was completed I added a ruffle of cow fabric to an old lavender crib skirt.  Then I set up her crib... because one day she will sleep in it.

This has nothing to do with the quilt but it's still beautiful.  Isn't desert snow breathtaking?  I love seeing all of the sharp and pokey things coated in sparkly white.  It never stays for very long so I enjoy it while I can.


Monday, March 11, 2013

Taking time to be crafty

Sometimes a sewing project or a little home organizing is all that stands between me and a total meltdown.  Anyone else know the feeling?

Lately I've been looking at the projects I've pinned on my pinterest boards and trying to tackle one each week.  Often that is the only "me" time I get, so I'm trying to to overlook the sink full of dishes once in a while and spend a few minutes doing something that does not involve cooking or cleaning up after my herd of children.

A few weeks ago, I reorganized the big girls' hair bows by creating a new bow board.  I covered a scrap of plywood with fabric and attached ribbons running down the front.  Then I just clipped the bow clips to the ribbons and hung the board on their bedroom wall.  This project only took about 15 minutes and I had all of the supplies on hand already.  (I love projects like that!)

My next project was a little bigger...

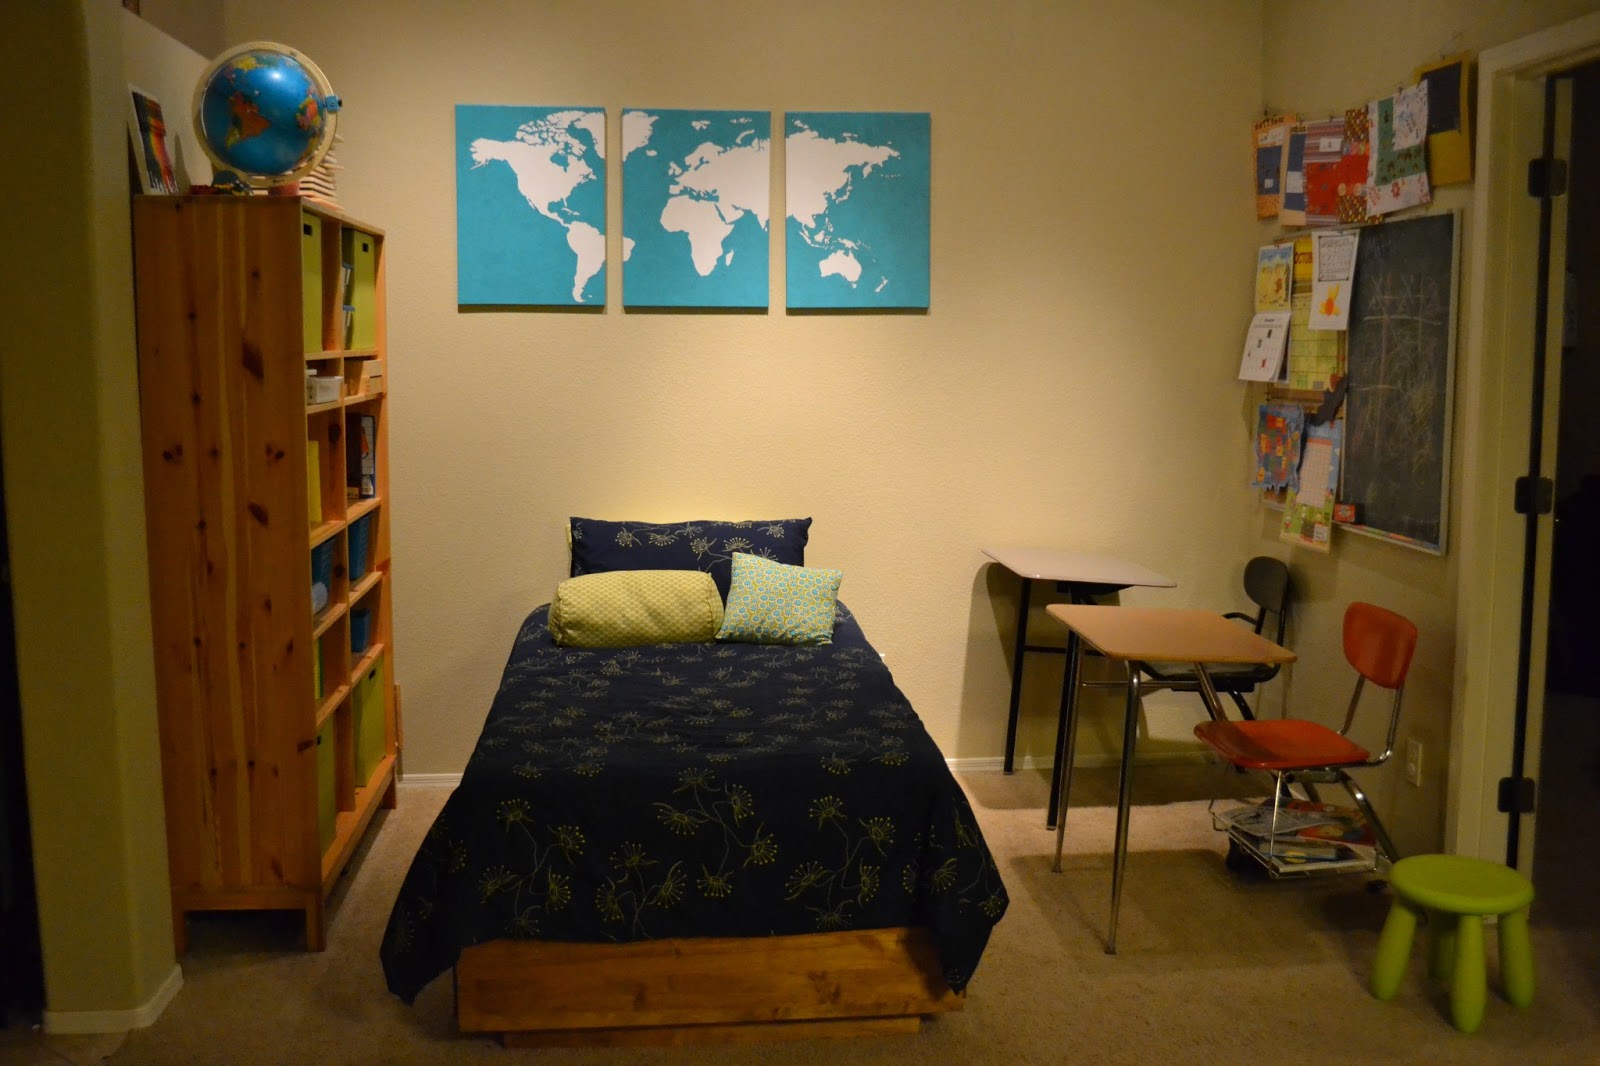
Our tiny house has no extra room for an office, play room, or school room.  In fact, we have a small office with french doors that is being used as the big girls' bedroom.  Our dining room has a small alcove between the kitchen and the master bedroom and that is where we are storing our guest bed, school books, and school desks.  It's a tiny space and far from ideal, but I'm making the best of what I've got right now.  The only problem is that this room is the first room you see when you enter our home.

I decided to take down the small canvas family photo and replace it with a map of the world.  My original plan was to use a vinyl decal as a stencil for painting the map but I quickly discovered that vinyl decals don't stick to canvas.  Oops.

 I ended up placing the decals on each piece of canvas and outlining the borders of the decals with a fine paint brush.  Then I removed the decals and painted the rest by hand.  It was a lot more time consuming than I had anticipated (many hours, especially painting the obnoxiously tiny islands of northern Canada) but I do love the way it turned out.
 The map decal was cheap and I already had extra canvases in my closet so this was another cheap project. Very time consuming though!

While organizing my bathroom I figured out a use for all of the beautiful pieces of china we found on the beach in Washington...

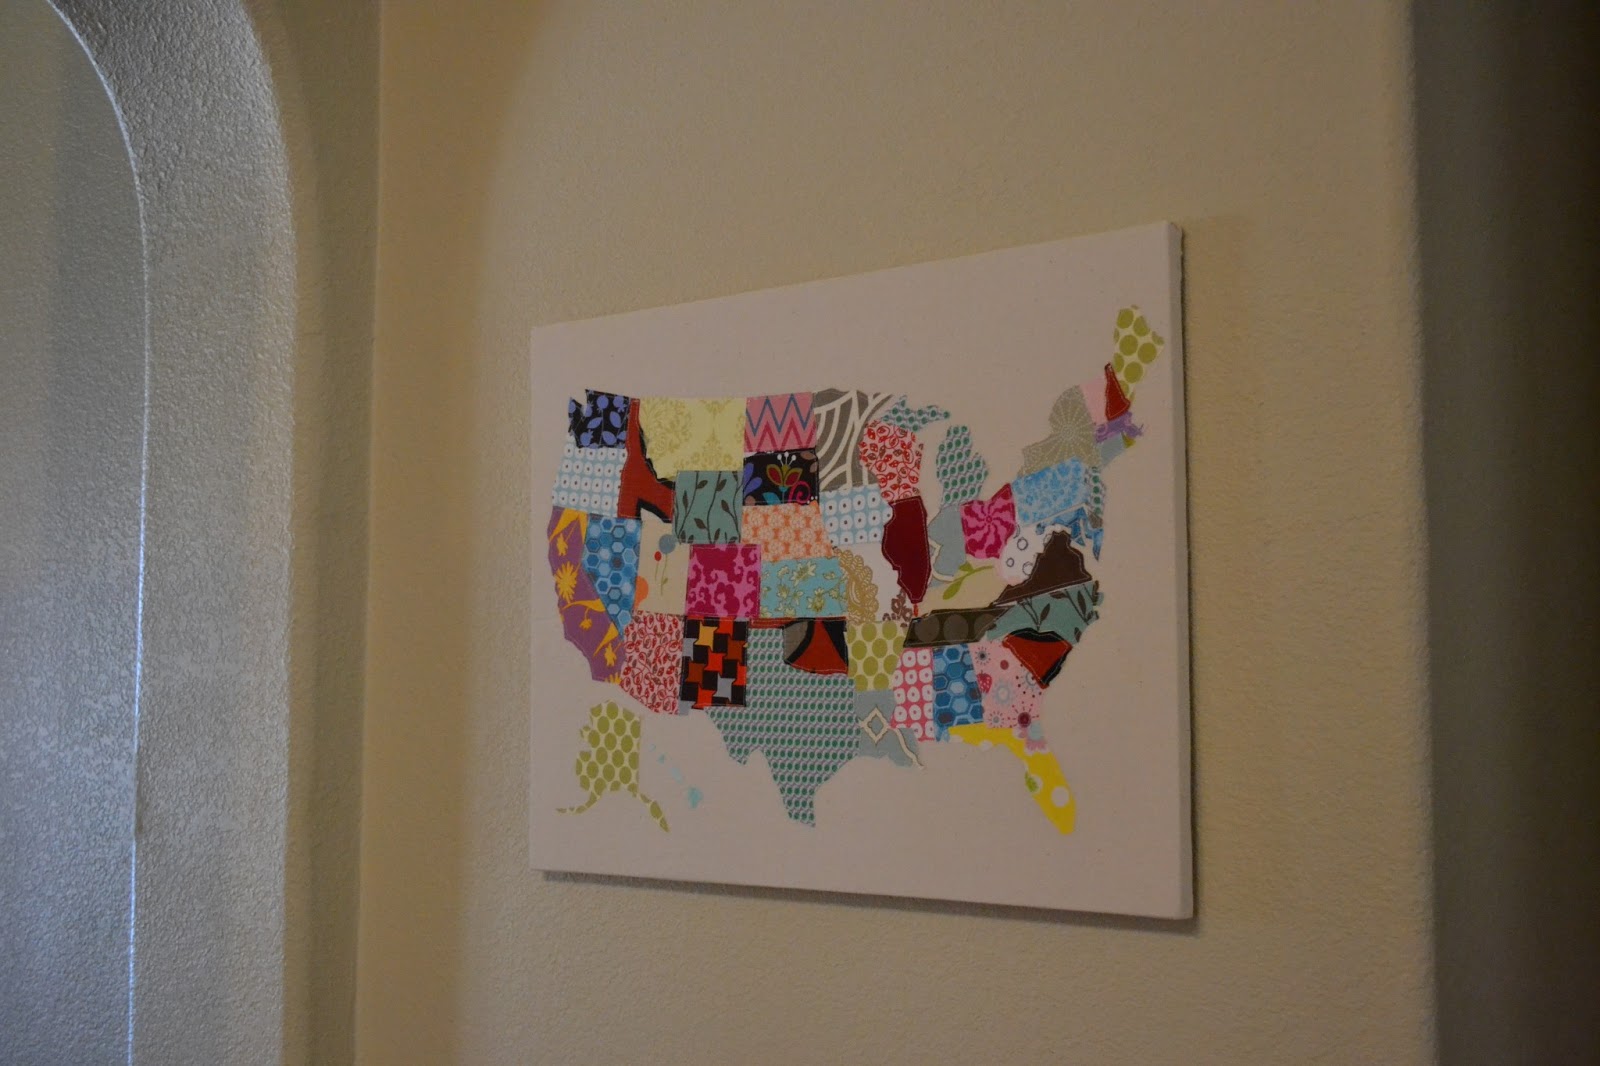
My love of travel led me to pin quite a few projects that involve maps.  When I came across this idea of creating a map using fabric scraps, I knew I had to make it.  I have a huge stash of fabrics just begging to be turned into something fun.
 I printed an enlarged map of the U.S. and cut out each state.  Then I affixed small pieces of Heat 'n Bond to small scraps of fabric.  (I found it was easier to cut out the fabric shapes when they were already attached to the Heat 'n Bond.)  The state cutouts were pinned to each fabric scrap so I could cut out the shape of each state.  Next I placed each state on a piece of muslin and started carefully removing the backing on the Heat 'n Bond and using my iron to secure the state in place.  Once all 50 states were ironed onto the muslin, I started stitching around the borders of the states with my sewing machine.
 When all of the states had been stitched in place, I stretched the muslin over a blank canvas and stapled it in on the back of the frame.  Then it went up on the wall.
 And then I organized all of my remaining fabric scraps into a nice cabinet.  Is it a bad thing when you need an entire cabinet just for your scraps?
 I thought it might look too cluttered so I used a scrap of fabric to hang over the glass doors.  This is my temporary solution until we move out of this tiny house.  (Only 9 more months!)

 My next project was Amelia's quilt but I'll share that later.  After making her quilt I decided to find a use for the two wooden frames.  The glass had been broken by the movers when we moved here and I held onto the frames thinking they could still be used.  When I came across this idea for creating an earring holder, I knew the frames would be perfect.
 I bought a sheet of decorative aluminum at Lowe's.  This design is Lincane and one sheet was big enough for both frames.
 I cut the aluminum to fit the frames and use a staple gun to attach it.
 Then I hung them in my closet and my earrings just fit into the holes and hang right within reach.  I love it!


Another recent project was making over my old Ikea stool.  The kids use this stool on a regular basis to reach things in our fridge.  It was looking kind of sad.  I painted it white (which I regret because it's too bright for the space) and then found a great Ikea hack for it.  
 I used fabric scraps and Modge Podge to cover the top surfaces of the stool.  I like the way it turned out and it's super easy to wipe off now.

My last project was organizing the many, many bikes in our garage.  I built a rack out of 2x4s.  No photo yet, but just imagine a massive heap of bikes being transformed into a neat row of standing bikes that are organized by size.

Right now I'm tackling Easter dresses for all 3 of my girls.  What are you creating?  Do you use pinterest for new ideas?  Please share!

Monday, November 05, 2012

Building Bunk Beds Before Baby's Birth

Good news!  Matthew's bones looked good on the latest x-ray so he won't need a second surgery.  What a relief!  Now to survive another 4 weeks with his cast when he's already begging to ride his bike again...

Joshua had an awesome first flight on Friday!  He flew around town in this little plane.  He actually flew right up next to those beautiful mountains in the background and right over our house.  It was his first time flying without me and he really loved it.
And finally, I've pretty much finished the big boys' bedroom.  I still need some help with then last few details, so if you're the organizing/redecorating type, please tell me what you think.

BEFORE:
INSPIRATION:
AFTER:
The free plans for the bunk bed can be found here.  I ended up modifying the ladder at the last minute because the slanted ladder didn't fit, even though the measurements were the same as the plan.  I'm not totally in love with the ladder, but it does the trick.  I may switch it out later.


I added some small IKEA Bekvam shelves.  They're actually spice racks, but they're the perfect size for holding a few books.  My boys read in bed every night so this is the perfect spot to store their books and now there won't be books shoved under pillows.
The comforters came from Target and the cool robot sheets came from Company Kids.  (You might notice that I haven't filled and sanded my pocket holes on the ends yet... I was in a hurry to get the bed done before giving birth so that's something I'll go back and finish later.)
The bed construction was simple.  It was much faster than the girls' playhouse bed and the cost was under $300 for everything.  The fact that I was able to build it myself at 37/38 weeks pregnant goes to show that the construction was pretty simple.  (I did have Jason's help cutting the longer boards and my boys helped me sand the ends of the bed.  Otherwise, it was all me & Seven.)

I'm not sure what to do with the boys' dresser in the corner.  I intended to paint it but couldn't decide on a color.  Maybe I should refinish it with a new coat of stain?
Then there's this bookshelf, also built from Ana White's plans.  I intended to paint this as well but was stumped on color.  What do you think?  (And yes, Matthew is missing an "e" that I need to hang back up.)
On the other side of the room we have our train table and The Giant Laundry Bin, aka a big storage bucket. I never could find a hamper that could contain the messy clothes from my boys and stand up to the beating of them dragging it down the hall a few times each week.  So we recycled a big, plastic storage bin.  I miss having walk-in closets to hide it though.
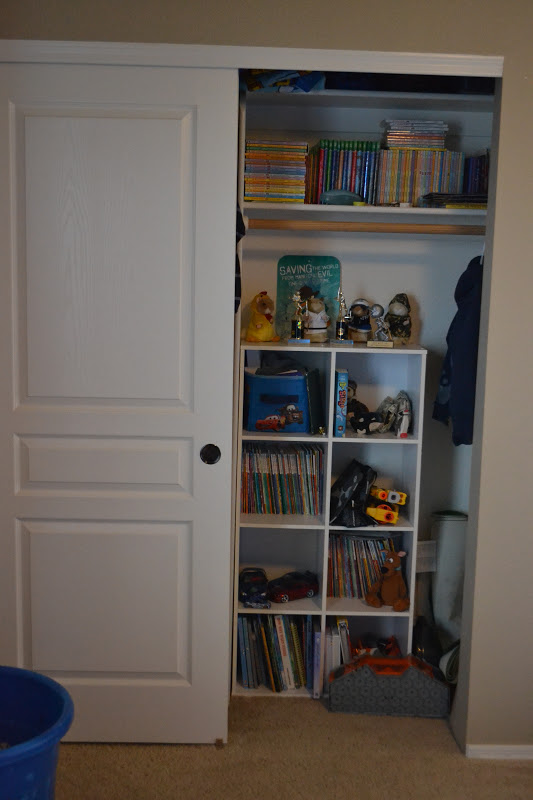
Our last 2 houses had walk-in closets and so we had easily 3 times the storage space that we have now.  I opted to stick an old cubby shelf in one side of the boys' closet because we have an abundance of books that needed a home.
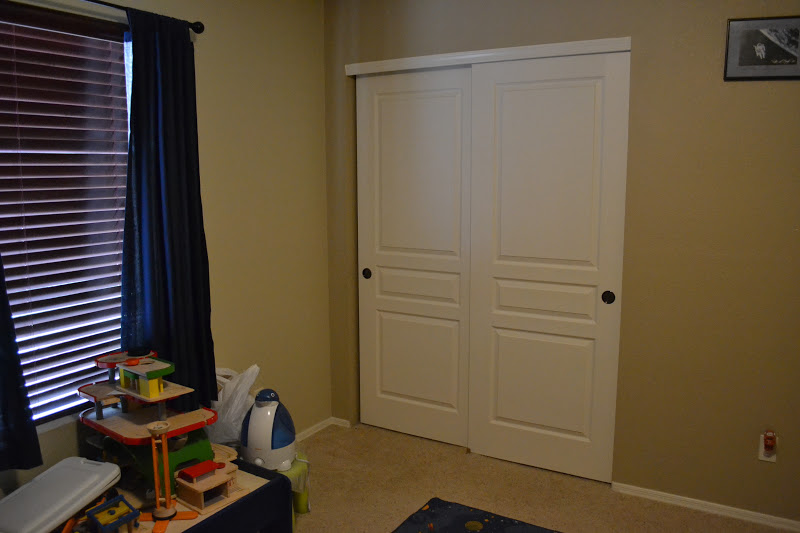
The other side of their closet holds their clothes but leaves no room for anything else.  We store shoes in our (tiny laundry room) and of course their clothes hamper sits out in the room.  I wish there was a way to create more space but this house is small and not made for a family of our size.  The big boys' bedroom is actually bigger than our master bedroom!
Next to the door I'm adding a small nightstand.  I started refinishing it with red paint but stopped because I still hadn't decided on the colors for the bookshelf and dresser.  Because we can't paint walls, I'd like to add some color, but don't want it to look too crazy.  Any ideas?
Getting rid of the two loft beds and consolidating to one big bunk bed has added a ton of floor space.  It's perfect for Matthew's break dancing, which he won't be doing for awhile now.

I'd like to get a new, striped rug but haven't had a chance to do it yet.  For now we're using the old rug because it matches.
I'd love to hear suggestions for finishing up this room and for keeping it organized...

Tuesday, October 16, 2012

A New Look

As you can see, my blog has been in the process of getting a new look.  Unfortunately, it hasn't gone so smoothly this time and some things are missing or acting a bit screwy.  I'm hoping to get it all fixed soon!

Meanwhile, our house has been getting a new look.  Actually, right now it's mostly the boys' rooms that have been getting overhauled.  I wish I could say it is just nesting, but I'm pretty much like this all the time.  As soon as my semester ended last week, I was tearing apart rooms and buying lumber.

Here's what I've been up to...

My big boys are sharing the biggest bedroom in the house.  I think it's even bigger than the master bedroom. We have a very small house (more on that in another post) so we have to get creative with the space.

 Matthew and Joshua were both sleeping in these Ikea loft beds with lots of storage/play space under them.  I think they're both getting a bit too big for the beds and they've been begging for "real" bunk beds for a long time.
 I have hidden their only dresser in the closet but that will soon change.  We are about to gain a lot of floor space!
 The wall decals are gone now and their room is getting a more "grown up" look.
Of course this little project involves some construction.  And a bedroom that gets completely destroyed in the process...
 What better project to undertake when you're 9 months pregnant?  A few power tools and a little furniture construction makes me so happy.  Never mind the fact that I can barely walk after squatting for 6 hours.  It will be good practice for giving birth though.
Here's my inspiration for the big boys' room.  The bunk bed plans came from Ana White, courtesy of Take the Side Street.  I'm reusing a lot of what we have in the room- the car table (from Plan Toys), the robot sheets (from Company Kids), the blue tab top curtains, and the street signs.  I'm adding a few robot bins (from thirty-one) that were a gift from my mom.  We have an existing white cube bookshelf and a few new pieces that are being built and/or refinished.  I picked up some new comforters a few months ago from Target and I'll probably sew some neat accent pillows eventually.

I hope to have "after" pictures to share in a few days.

The little boys' room is also getting a major overhaul.  I'm almost done with that room but have to wait on a new mattress to arrive before I can finish.

Sunday, September 23, 2012

Pretending it's Fall

I have to say that I am missing Fall right now.  It may be late September, but monsoon season has ended here in southeastern Arizona and it is just hot and dry again.

It's so dry that we get cracked lips and I have nosebleeds.  It's so hot that my sweet children are tired of playing outside.  (How can kids get tired of playing outside?!)  It feels like we should be firing up the grill and making lemonade, but I refuse.

I'm pretending it's Fall.
I have been baking pumpkin scones and drinking pumpkin spice lattes (decaf, don't worry.)  Sadly, my coffeemaker chose this time of year to bite the dust.  This means that I beg Jason to go to Starbucks at least once a week.  We don't have a stand-alone Starbucks here so there's no drive-thru or I'd be a little more self-sufficient with my coffee cravings.

Before the coffeemaker died (RIP, dear machine) I was starting school each morning while sipping my coffee and nibbling on a scone.  I like to pretend that the slight breeze from the ceiling fan is really a crisp, autumn breeze blowing my way.  Today I chose to ignore that it was 92 degrees outside as I baked in my tiny, hot kitchen.  (Scones were totally worth it though!)

I found an awesome recipe for pumpkin scones at Take the Side Street.  (Her photos look way more appetizing than mine!)  I substituted almond milk for the half & half and they came out great.  We made our third batch today.  They're super easy to make and even my kids can help.

I finally set up a Pinterest page so you can find this recipe there too.

The pumpkin scone recipe calls for vanilla extract, as do many holiday baking recipes.  I made my own vanilla extract several months ago and have been meaning to share.  Has anyone else tried this?

I bought a half pound of organic vanilla pods here and two big bottles of vodka.  Following the instructions here, I sliced open the vanilla pods and scraped out the tiny beans.  I split the pods up so that I had enough to fill 4 mason jars.  Then I put the beans and the pods in the jars and filled them with vodka.
For the first week or two, I shook the jars each day.  Since then they have just been sitting in my pantry.  They start out looking like this...
...and end up looking like this.
I made these jars in February and this is the best vanilla extract I've used.  It smells heavenly!  It takes about 6 months to really be finished but I started using my extract after about 6 weeks.

What are you doing to celebrate Fall?  Any recipes you'd like to share?


Related Posts with Thumbnails