Lately I've been looking at the projects I've pinned on my pinterest boards and trying to tackle one each week. Often that is the only "me" time I get, so I'm trying to to overlook the sink full of dishes once in a while and spend a few minutes doing something that does not involve cooking or cleaning up after my herd of children.
A few weeks ago, I reorganized the big girls' hair bows by creating a new bow board. I covered a scrap of plywood with fabric and attached ribbons running down the front. Then I just clipped the bow clips to the ribbons and hung the board on their bedroom wall. This project only took about 15 minutes and I had all of the supplies on hand already. (I love projects like that!)

My next project was a little bigger...
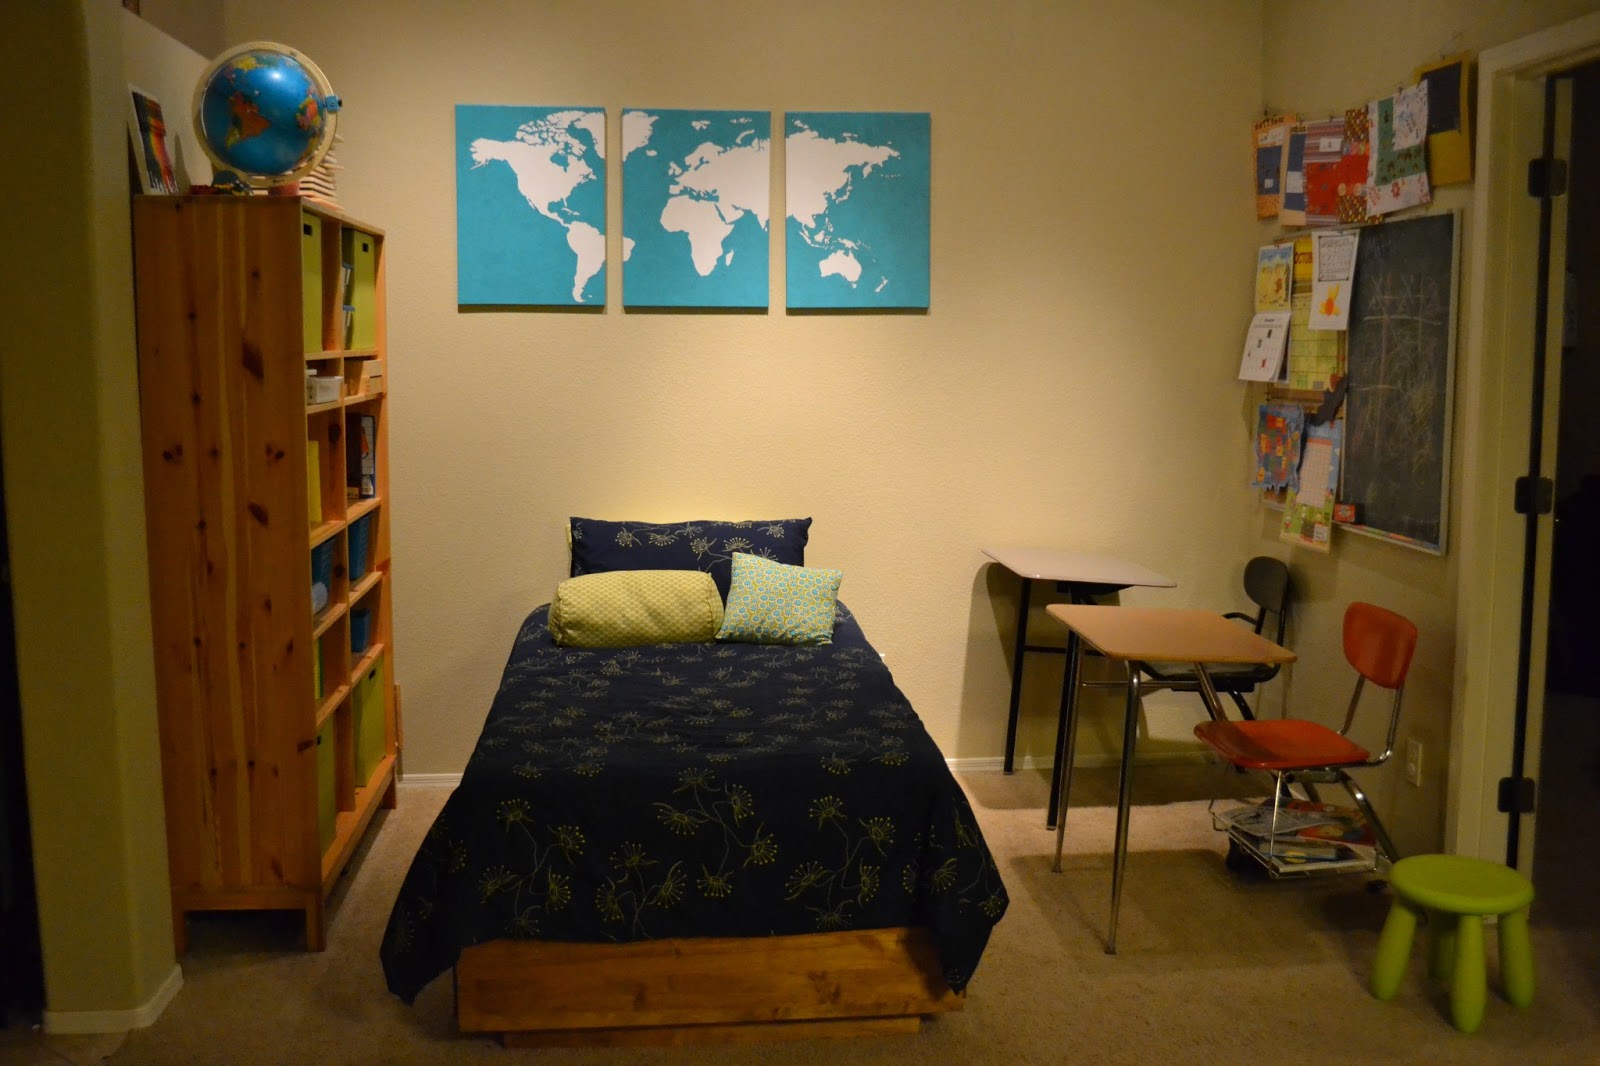
Our tiny house has no extra room for an office, play room, or school room. In fact, we have a small office with french doors that is being used as the big girls' bedroom. Our dining room has a small alcove between the kitchen and the master bedroom and that is where we are storing our guest bed, school books, and school desks. It's a tiny space and far from ideal, but I'm making the best of what I've got right now. The only problem is that this room is the first room you see when you enter our home.
I decided to take down the small canvas family photo and replace it with a map of the world. My original plan was to use a vinyl decal as a stencil for painting the map but I quickly discovered that vinyl decals don't stick to canvas. Oops.


While organizing my bathroom I figured out a use for all of the beautiful pieces of china we found on the beach in Washington...

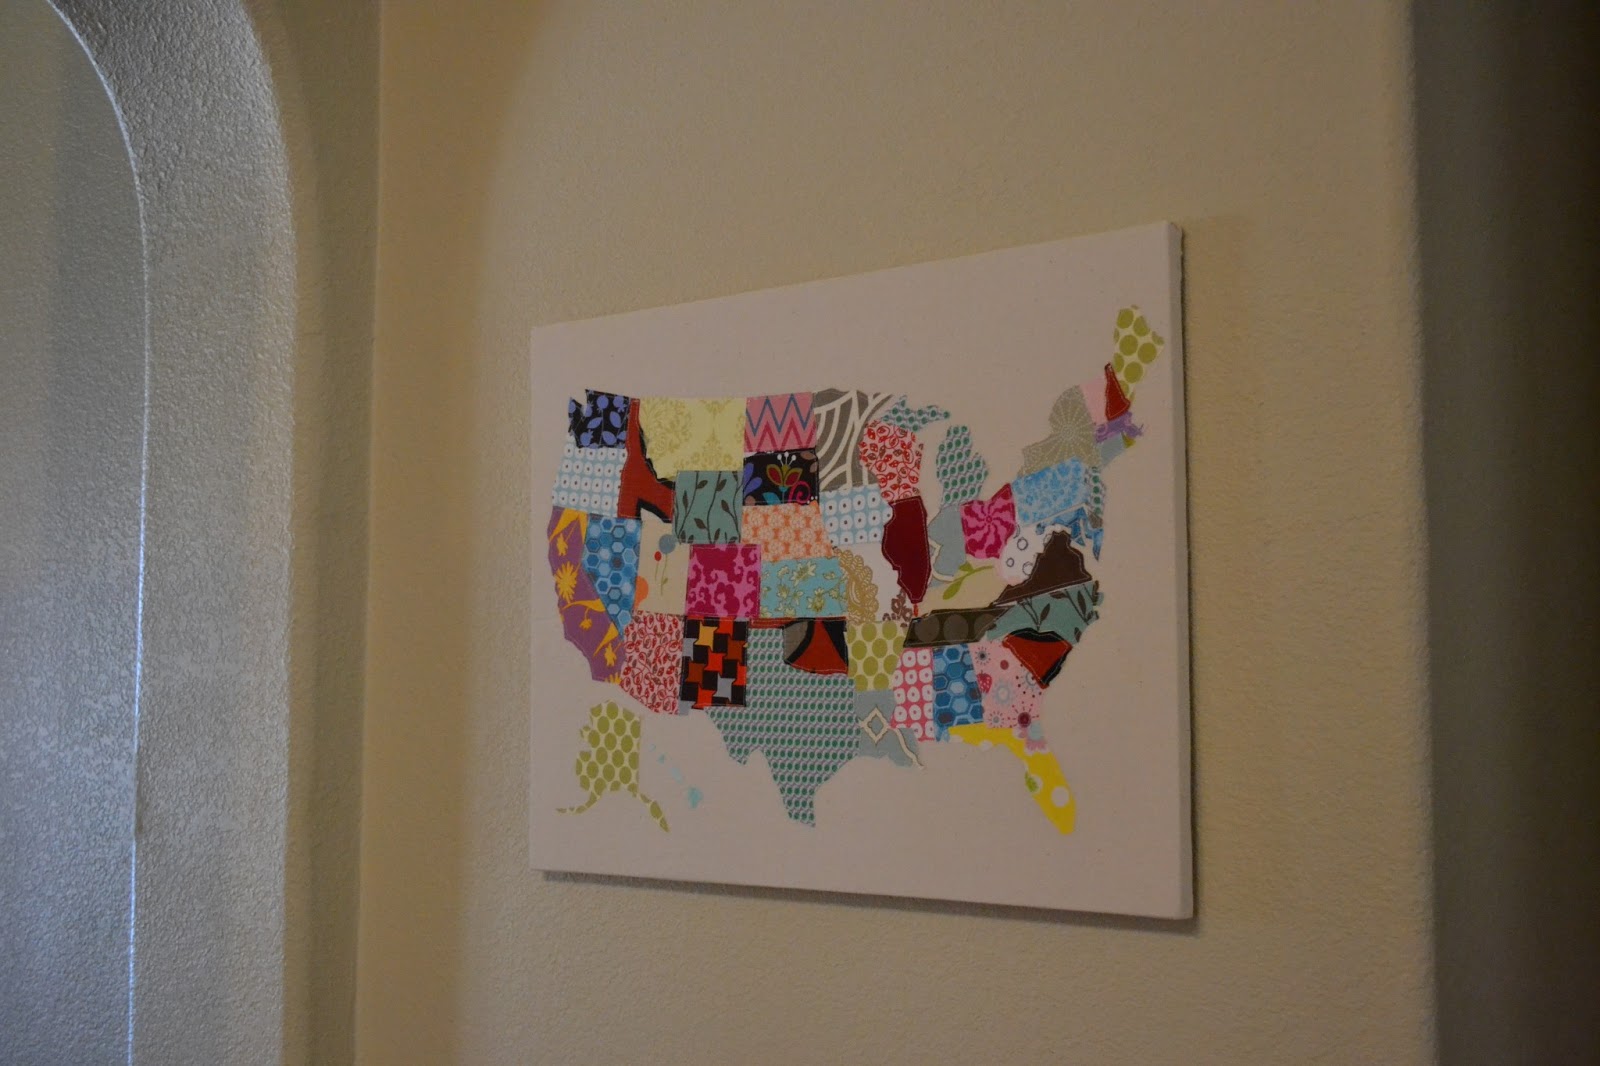
My love of travel led me to pin quite a few projects that involve maps. When I came across this idea of creating a map using fabric scraps, I knew I had to make it. I have a huge stash of fabrics just begging to be turned into something fun.


My next project was Amelia's quilt but I'll share that later. After making her quilt I decided to find a use for the two wooden frames. The glass had been broken by the movers when we moved here and I held onto the frames thinking they could still be used. When I came across this idea for creating an earring holder, I knew the frames would be perfect.


Another recent project was making over my old Ikea stool. The kids use this stool on a regular basis to reach things in our fridge. It was looking kind of sad. I painted it white (which I regret because it's too bright for the space) and then found a great Ikea hack for it.


My last project was organizing the many, many bikes in our garage. I built a rack out of 2x4s. No photo yet, but just imagine a massive heap of bikes being transformed into a neat row of standing bikes that are organized by size.
Right now I'm tackling Easter dresses for all 3 of my girls. What are you creating? Do you use pinterest for new ideas? Please share!